Cropping in Adobe Premiere Pro allows you to adjust the frame size of your video clips to focus on specific areas or remove unwanted elements. Here’s a step-by-step guide on how to crop video clips in Adobe Premiere Pro:
Step 1: Import your video clip Open Adobe Premiere Pro and create a new project or open an existing one. To import your video clip, go to File > Import and select the video file from your computer. Alternatively, you can drag and drop the video clip directly into the Project panel.
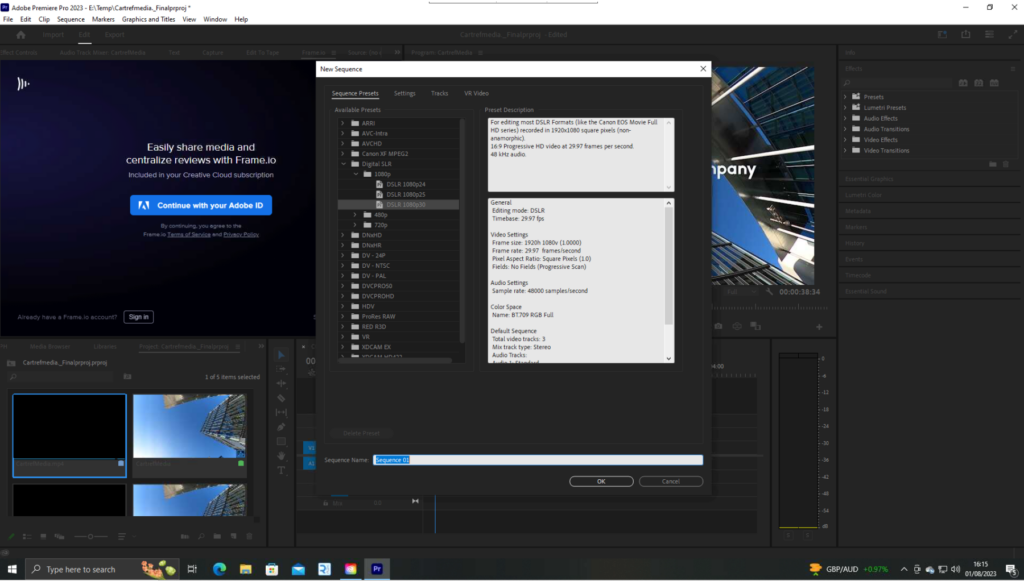
Step 2: Create a new sequence Once your video clip is imported, you’ll need to create a new sequence. To do this, go to File > New > Sequence. Choose a preset that matches the settings of your video clip, or you can customize the sequence settings if needed. Click OK to create the sequence.
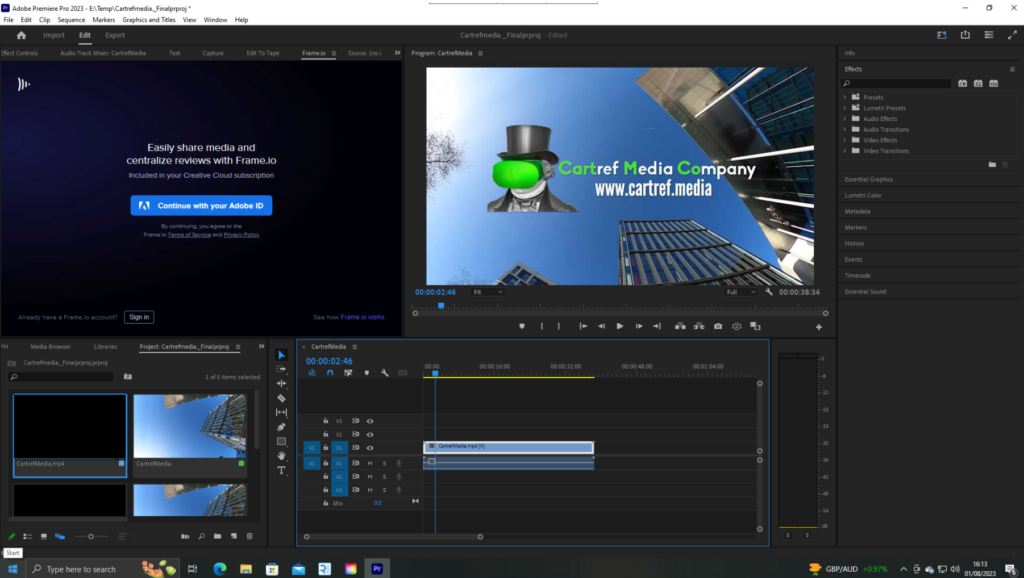
Step 3: Add the video clip to the timeline In the Project panel, find your imported video clip and drag it onto the timeline. The timeline is the area where you will edit and arrange your video clips.
Step 4: Select the video clip on the timeline Click on the video clip in the timeline to select it. You’ll know it’s selected when you see a yellow bounding box around the clip.
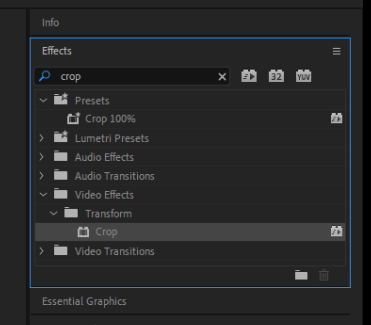
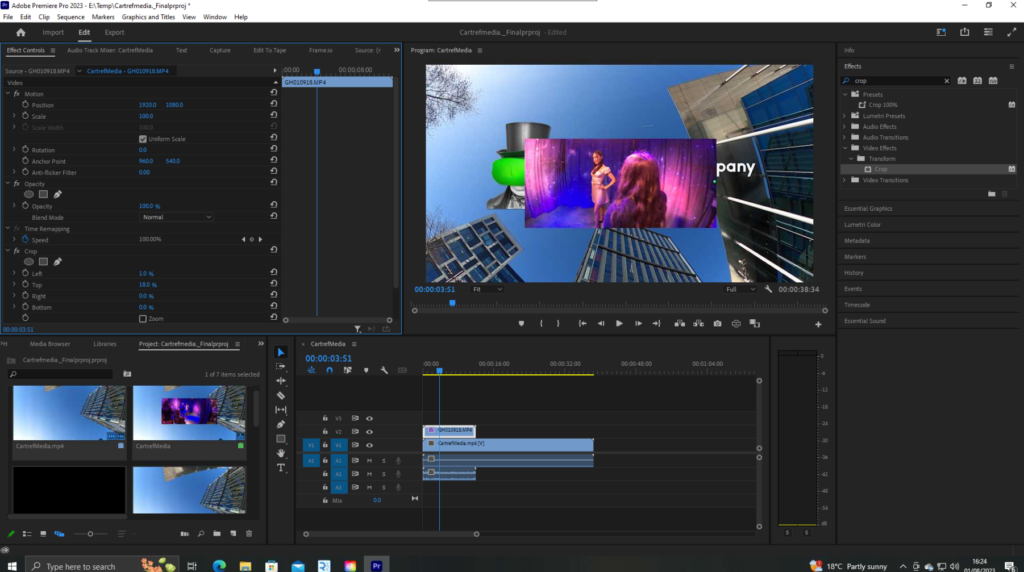
Step 5: Open the Effects Control panel In the top menu, click on Window > Effect Controls to open the Effects Control panel. This panel is where you’ll find the options to modify various effects, including cropping.
Step 6: Locate the Crop effect In the Effects Control panel, look for the Motion section. Inside the Motion section, you’ll see the Crop effect. If you don’t see it, click the triangle next to Motion to reveal the Crop options.
Step 7: Adjust the crop settings Within the Crop effect, you’ll find four rectangular handles around the video preview. You can use these handles to adjust the cropping area.
- To crop from the top, click and drag the top handle downwards.
- To crop from the bottom, click and drag the bottom handle upwards.
- To crop from the left, click and drag the left handle to the right.
- To crop from the right, click and drag the right handle to the left.
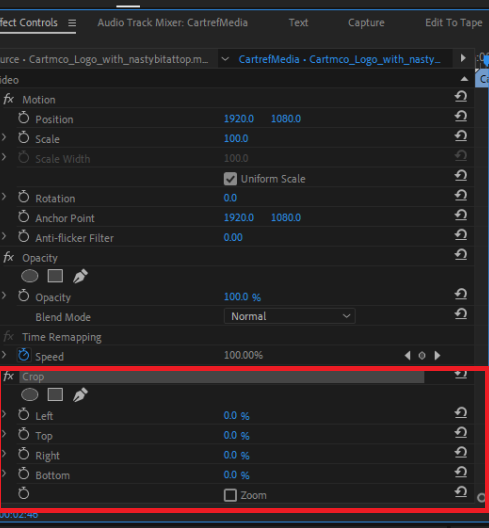
Alternatively, you can use the numeric values to set precise cropping dimensions. Enter the values in the “Left,” “Right,” “Top,” and “Bottom” boxes.
Step 8: Preview your crop As you adjust the crop settings, the video preview in the Program Monitor will update in real-time. Use this preview to fine-tune your crop until you’re satisfied with the framing.
Step 9: Save your work Once you’re done cropping your video clip, remember to save your project to keep all your changes.
Step 10: Export the cropped video To export the cropped video, go to File > Export > Media. Choose your desired export settings and click Export to create the final version of your cropped video.
That’s it! You’ve successfully cropped a video clip in Adobe Premiere Pro.
No responses yet